Store-bought mayo has its place — I’m not here to argue with a good BLT or a quick ranch dip. But aïoli is a different thing entirely, and it’s worth knowing the distinction. Real aïoli is brighter, punchier, and built around garlic in a way that jarred mayonnaise never is. It has a silkiness that comes from making it fresh, and a flavor that actually does something for whatever you put it on. They’re not interchangeable, and once you’ve made your own, you’ll understand why.
The technique is more approachable than people expect. A food processor takes the hard work out of it — no whisking, no aching arm. What it does require is patience with the oil pour and a little attention to texture as you go. Get those two things right and you’ll have a jar of aïoli in your fridge that you’ll find reasons to open all week.
What Even Is Aïoli?
Aïoli is, technically, an emulsified garlic sauce from the Mediterranean. The word itself means garlic and oil in Provençal — which is more or less exactly what it is. Traditional versions are nothing but garlic, olive oil, and salt, worked together until creamy. What most of us call aïoli today is the egg-yolk version, which is basically a garlicky mayonnaise — and that’s what we’re making here.
The key difference from mayo? The garlic is front and center. It’s not a hint. It’s the point. And the lemon juice gives it a brightness that balances the richness of the oil and egg.
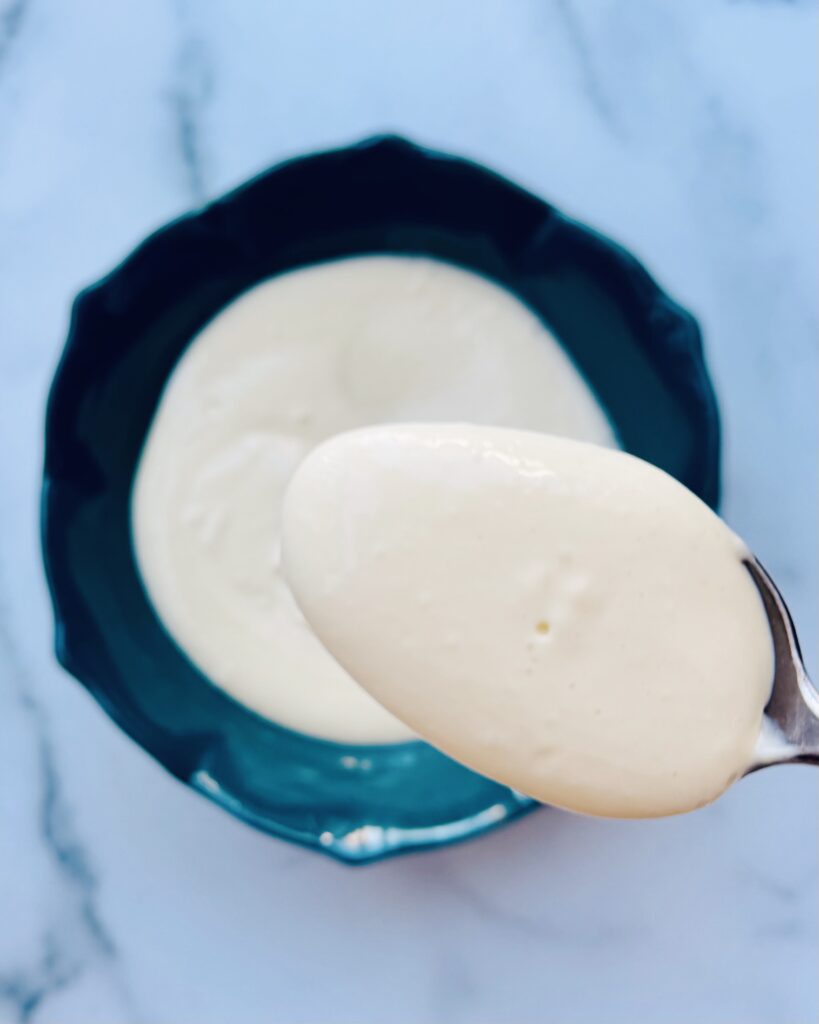
The Emulsion Explained (Without the Science Lecture)
An emulsion is just what happens when two things that don’t normally mix — fat and water — are forced to stay together. Egg yolks contain lecithin, which acts as the bridge between them. When you add oil slowly while the processor is running, the lecithin coats tiny droplets of oil and suspends them in the liquid base. The result is something thick, creamy, and stable.
Break that process — add the oil too fast, or skip the drizzle — and the emulsion splits. You’ll end up with a greasy, curdled mess. Not the end of the world (you can often rescue it), but worth doing right the first time.
A Few Things That Make a Difference
- Use a neutral oil. This one matters more than people think. Good olive oil sounds fancy, but it goes bitter in the processor and can overpower everything. Grapeseed is my first choice — it’s light, clean, and lets the garlic shine. Canola or vegetable work just as well.
- Microplane your garlic. You want the garlic to fully incorporate — no chunks, no raw bite that hits you on the way out. A microplane turns it into a paste that disappears right into the emulsion.
- Cool water is your texture tool. Once your aïoli comes together, it’ll be thick — almost too thick. A few teaspoons of cool water loosens it into something spoonable and smooth without breaking the emulsion. Add it gradually and stop when it feels right.
- Taste at the end and adjust. This is where the recipe becomes yours. More lemon if it needs brightness. More salt if it’s flat. A little more water if you want it looser. Aïoli isn’t about strict ratios — it’s about learning what it should feel and taste like, then chasing that.
How to Use It
The easier question is what you can’t put it on. Aïoli is the thing that makes a good sandwich great. It’s the dipping sauce that turns roasted vegetables from a side dish into something you actually want to eat. Spread it on a burger, dollop it next to some crispy fish, swipe it across toast before piling on avocado. Put it in a little bowl and let people drag things through it at dinner. It will not last long.
It keeps in the fridge for about a week. If it thickens up after sitting, a few drops of water stirred in will bring it right back.
The Recipe
Below is the recipe I use. The amounts are intentionally flexible — once you understand the method, you’ll naturally adjust based on how much you need and how it’s looking as you go. That’s the whole point.